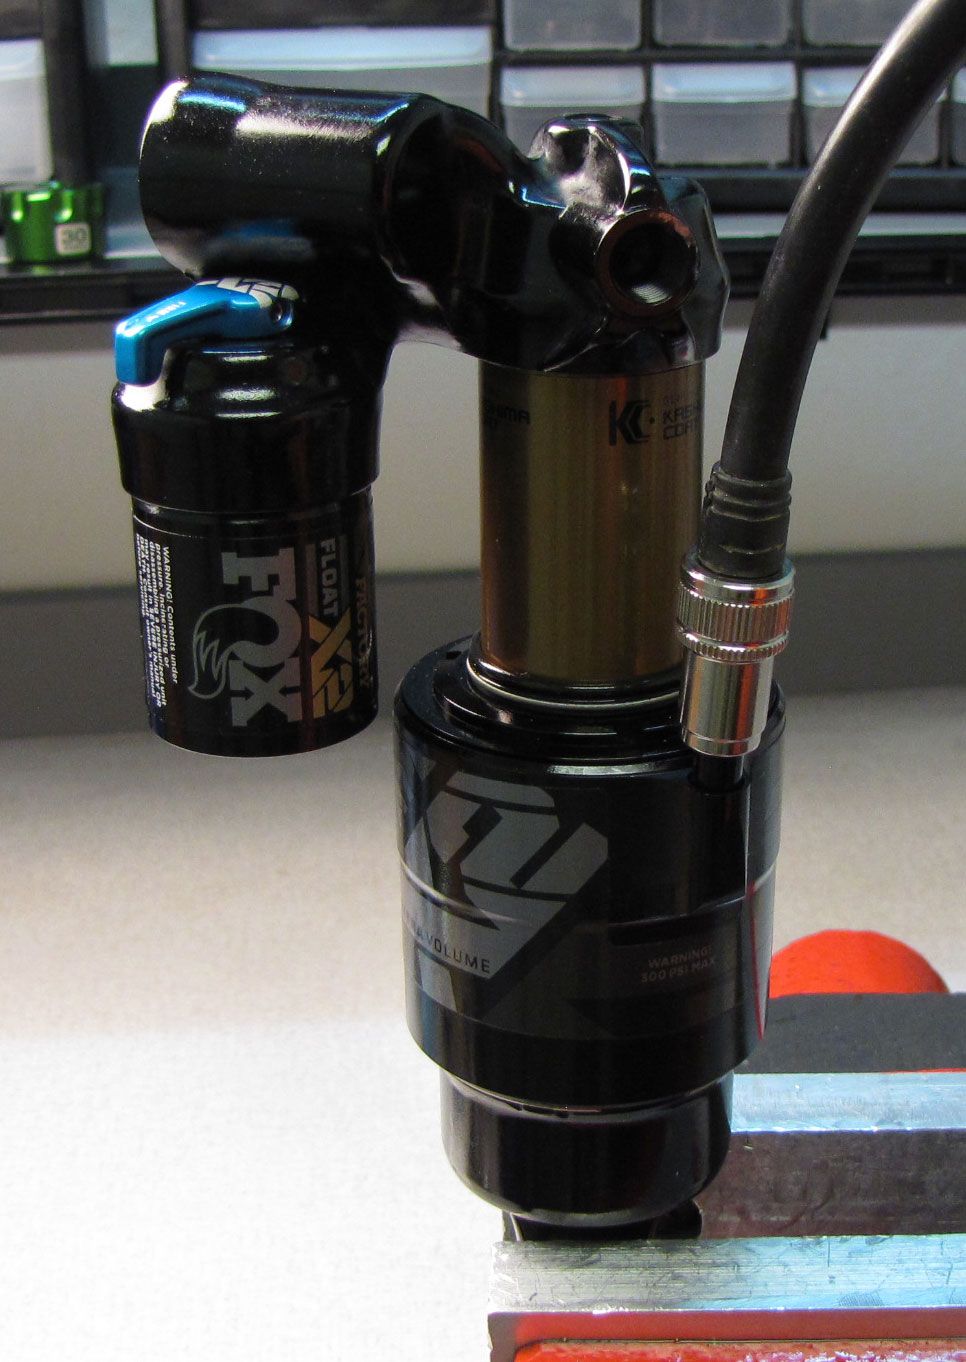
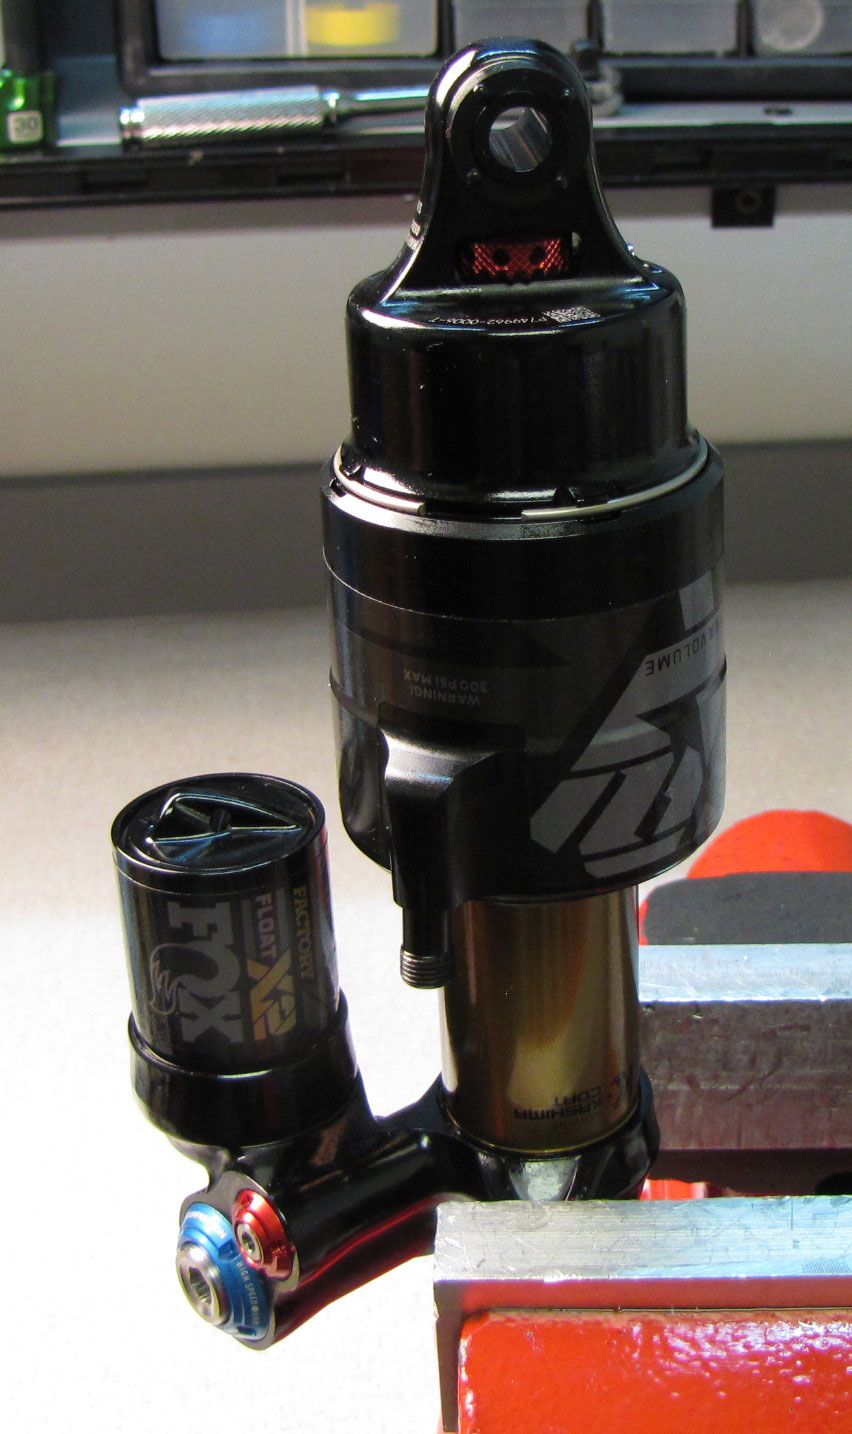
2021+ FLOAT X2 Volume Spacer Installation
WARNING: Always wear safety glasses and protective gloves during service to prevent potential injury. Failure to wear protective equipment during service may lead to SERIOUS INJURY OR DEATH.
Changing volume spacers in the shock is an internal adjustment that allows you to change the amount of mid stroke and bottom out resistance.
- If you have set your sag correctly and are using full travel (bottoming out) too easily, then you could install a larger spacer to increase bottom out resistance.
- If you have set your sag correctly and are not using full travel, then you could install a smaller spacer to decrease bottom out resistance.

| Shock Size | Maximum Spacer Quantity |
| 7.500, 2.000 | 1 |
| 7.875, 2.000 | 1 |
| 8.500, 2.500 | 2 |
| 9.500, 3.000 | 3 |
| 10.500, 3.500 | 4 |
| 185, 50 | 1 |
| 185, 55 | 1 |
| 205, 60 | 2 |
| 205, 62.5 | 2 |
| 205, 65 | 2 |
| 210, 50 | 3 |
| 210, 55 | 3 |
| 225, 70 | 3 |
| 225, 75 | 3 |
| 230, 57.5 | 4 |
| 230, 60 | 4 |
| 230, 65 | 4 |
| 250, 70 | 5 |
| 250, 75 | 5 |
FLOAT X2 Air Spring Volume Spacers each have a volume of 0.25³ (PN: 233-00-240).
- Never install more than the maximum number of air volume spacers listed in the chart above.
WARNING: FOX products should be serviced by a trained bicycle service technician, in accordance with FOX specifications. If you have any doubt whether or not you can properly service your FOX product, then DO NOT attempt it. Improperly serviced products can fail, causing the rider to lose control resulting in SERIOUS INJURY OR DEATH.
WARNING: FOX suspension products contain pressurized nitrogen, air, oil, or all 3. Suspension misuse can cause property damage, SERIOUS INJURY OR DEATH. DO NOT puncture, incinerate or crush any portion of a FOX suspension product. DO NOT attempt to disassemble any portion of a FOX suspension product, unless expressly instructed to do so by the applicable FOX technical documentation, and then ONLY while strictly adhering to all FOX instructions and warnings in that instance.
WARNING: Modification, improper service, or use of aftermarket replacement parts with FOX forks and shocks may cause the product to malfunction, resulting in SERIOUS INJURY OR DEATH. DO NOT modify any part of a fork or shock, including the fork brace (lower leg cross brace), crown, steerer, upper and lower leg tubes, or internal parts, except as instructed herein. Any unauthorized modification may void the warranty, and may cause failure or the fork or shock, resulting in SERIOUS INJURY OR DEATH.

Step 1
Remove the black air cap and thread on your FOX shock pump. Slowly release all air from the main air chamber with your pump, then remove the pump. Verify that all air has been released by depressing the Schrader valve.

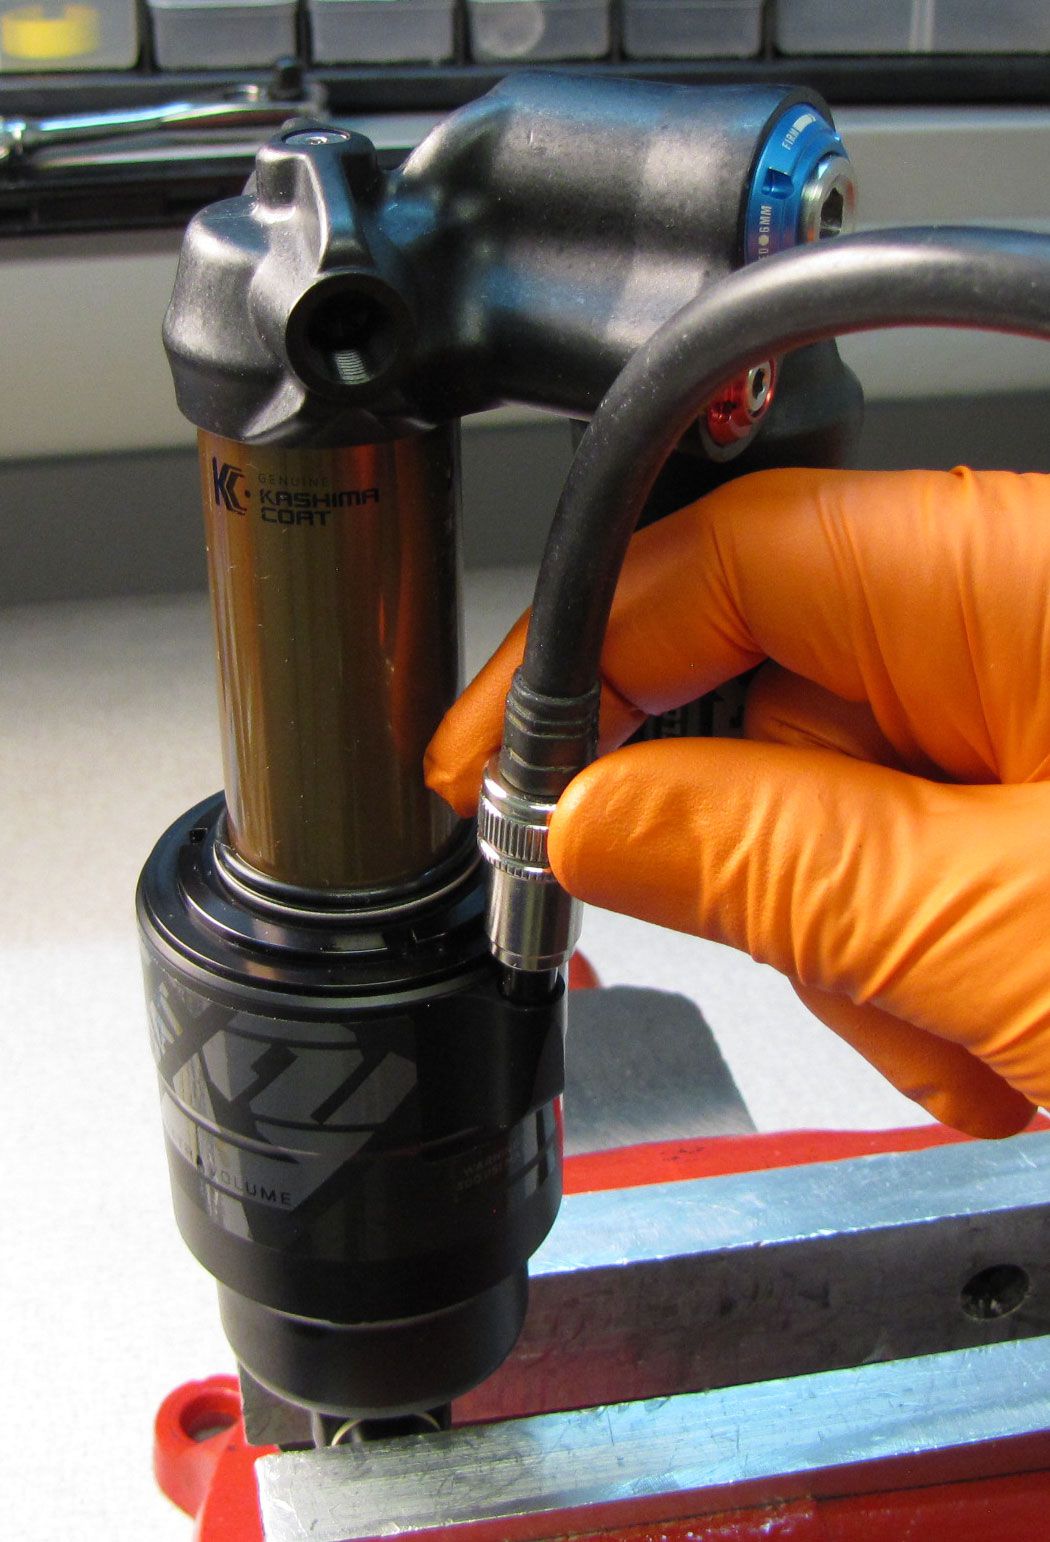
WARNING: Please verify that all air has been released from the air chamber by pushing down on the Schrader valve core. Failure to release all air pressure before further disassembly may cause parts to eject causing SEVERE INJURY OR DEATH.

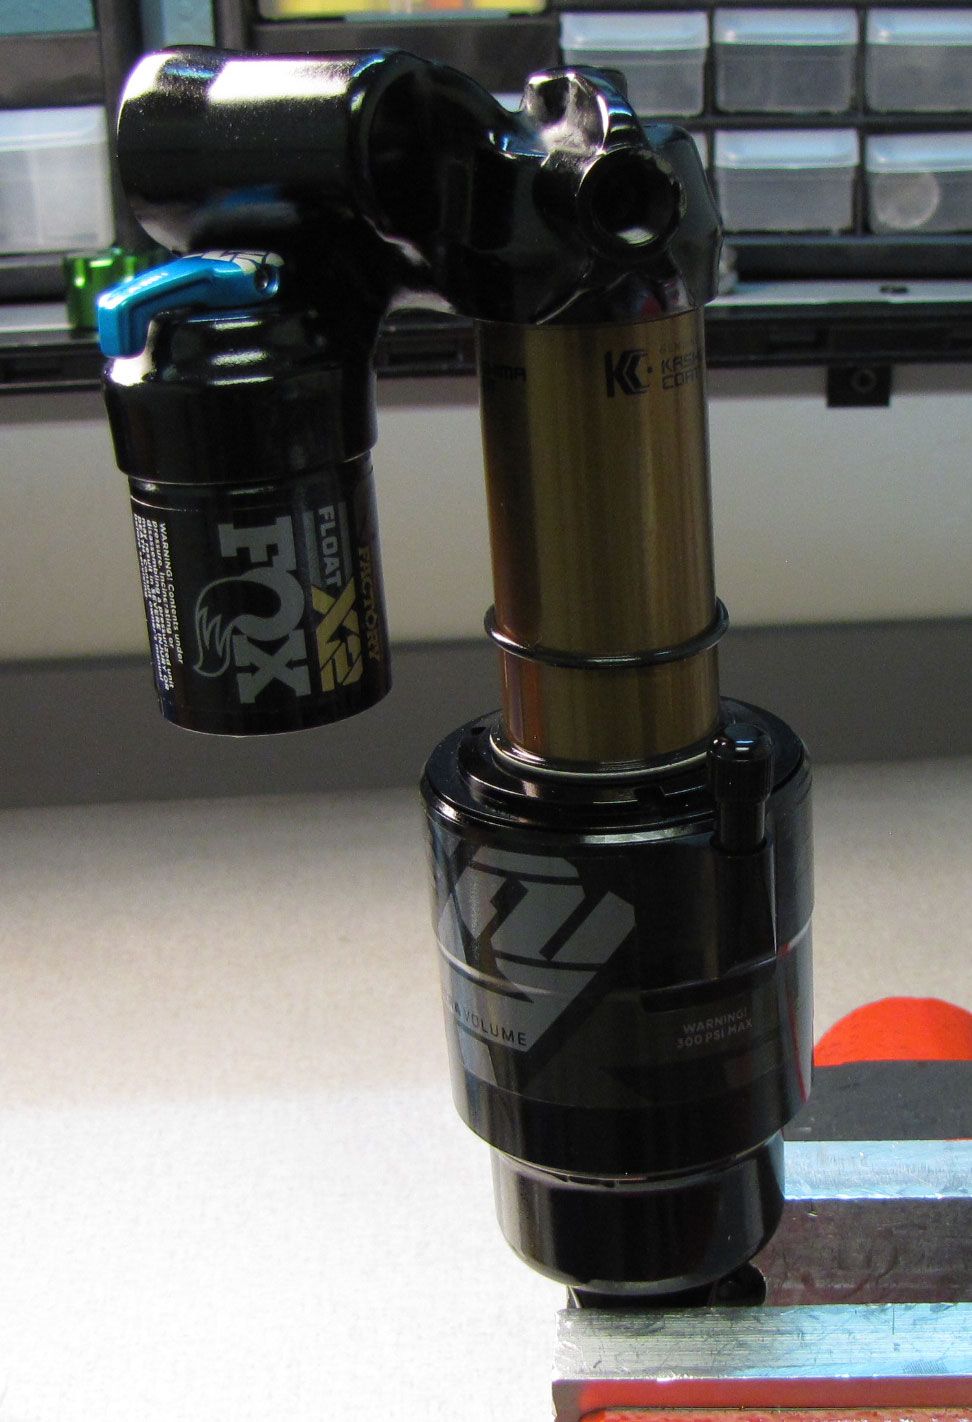
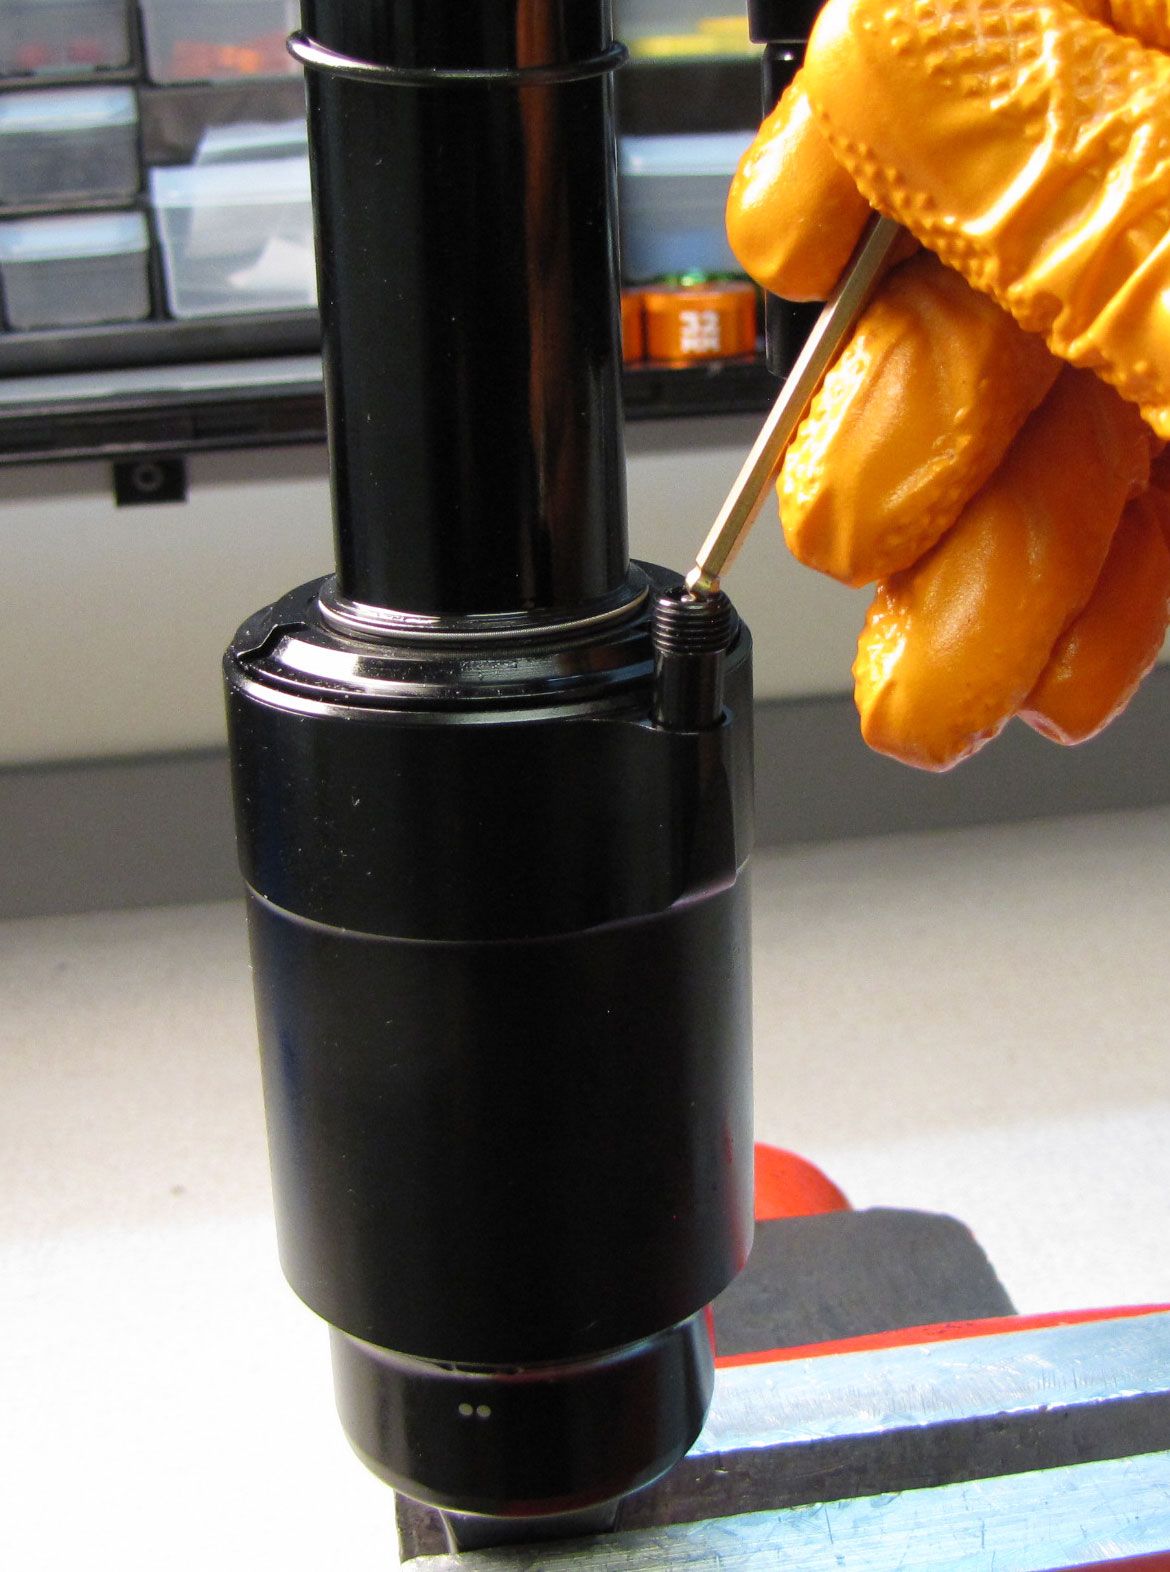
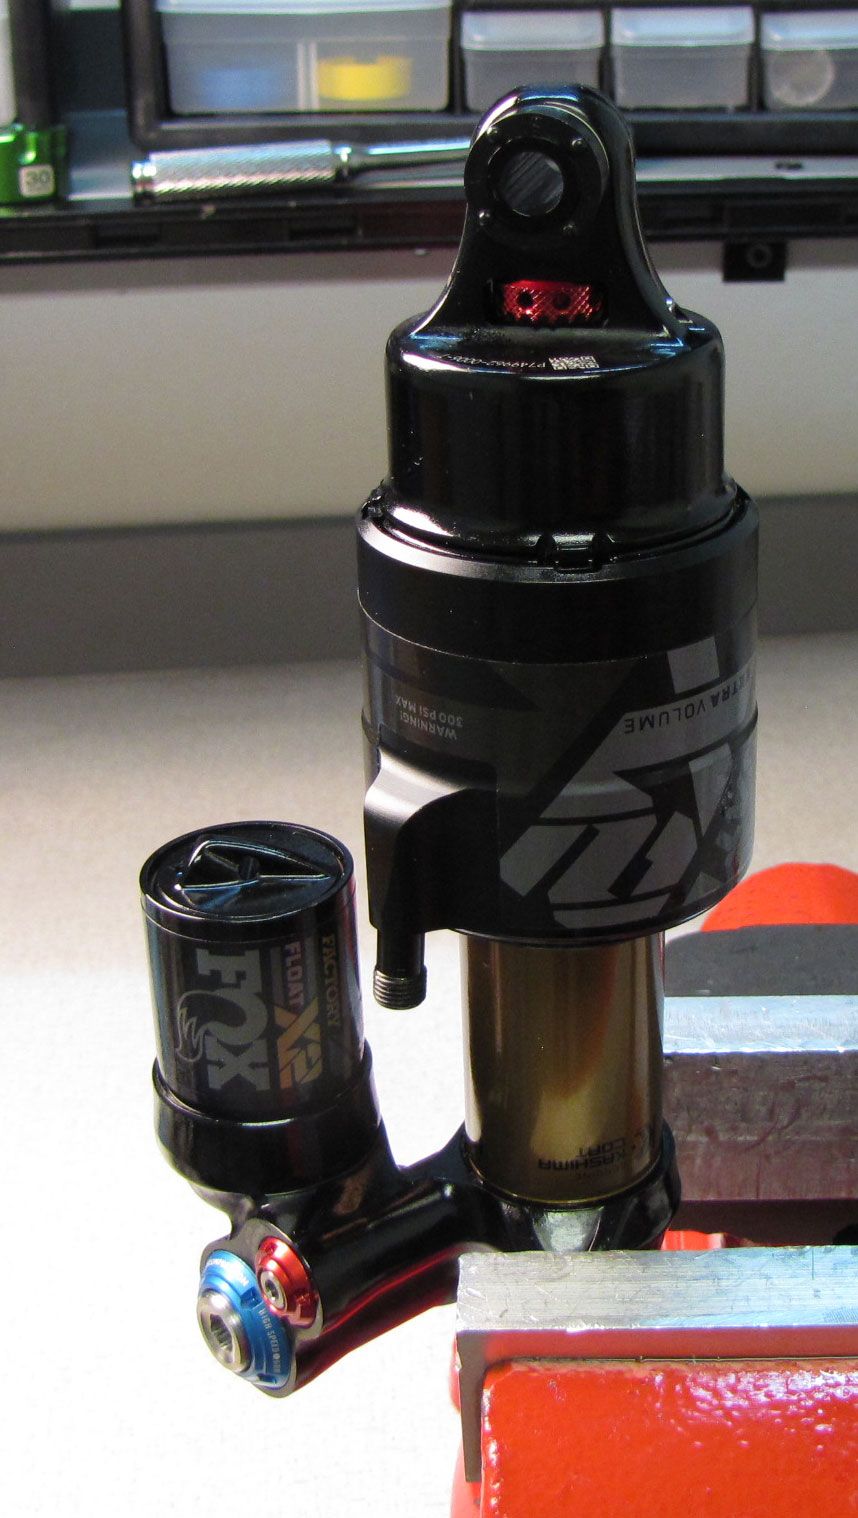
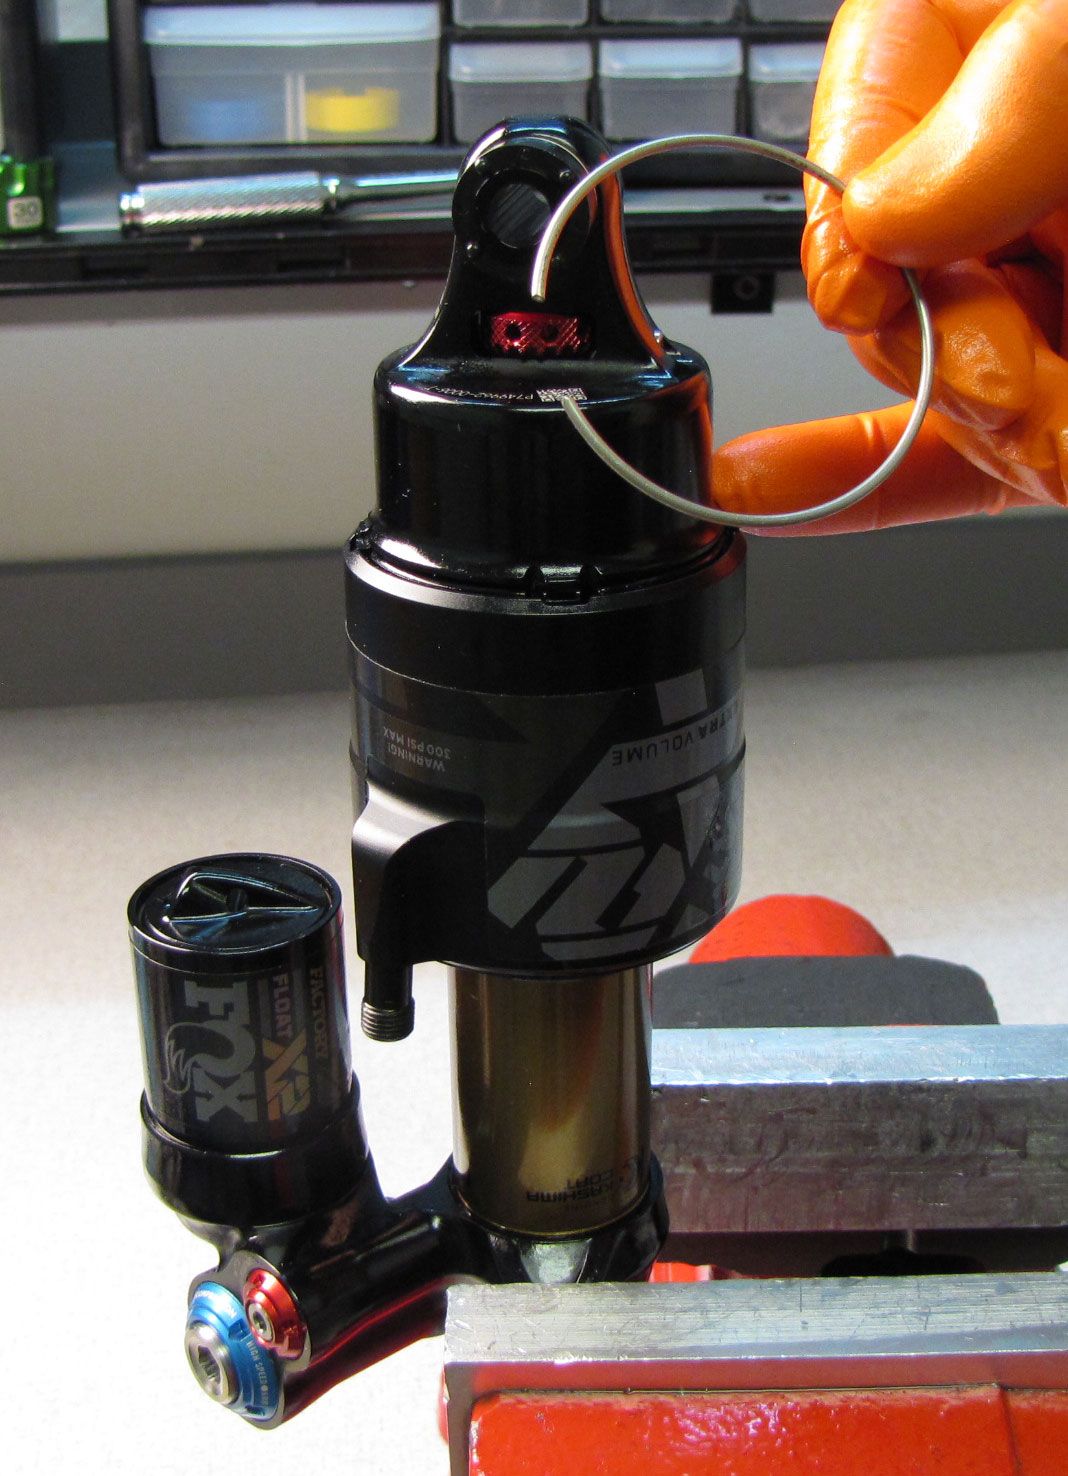
Step 2
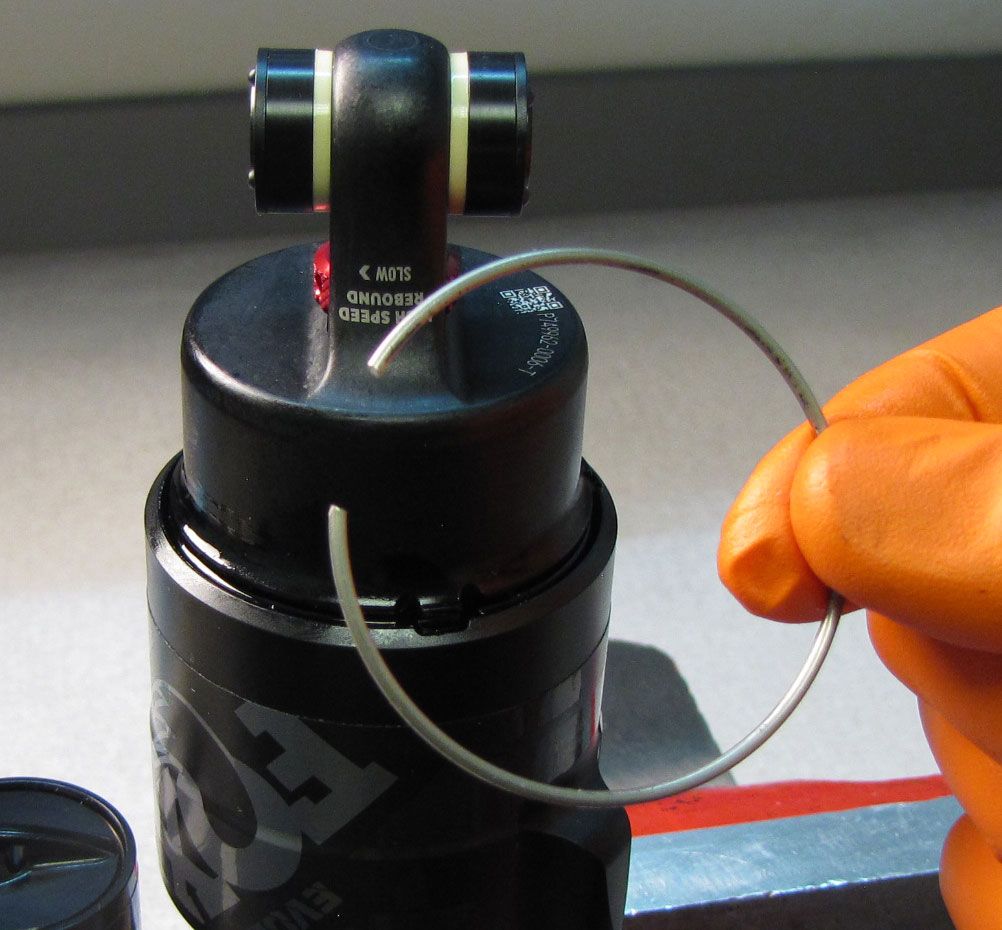
Rotate the wire retaining ring to align the opening in the ring with the tab on eyelet. Use a pick to remove the ring.
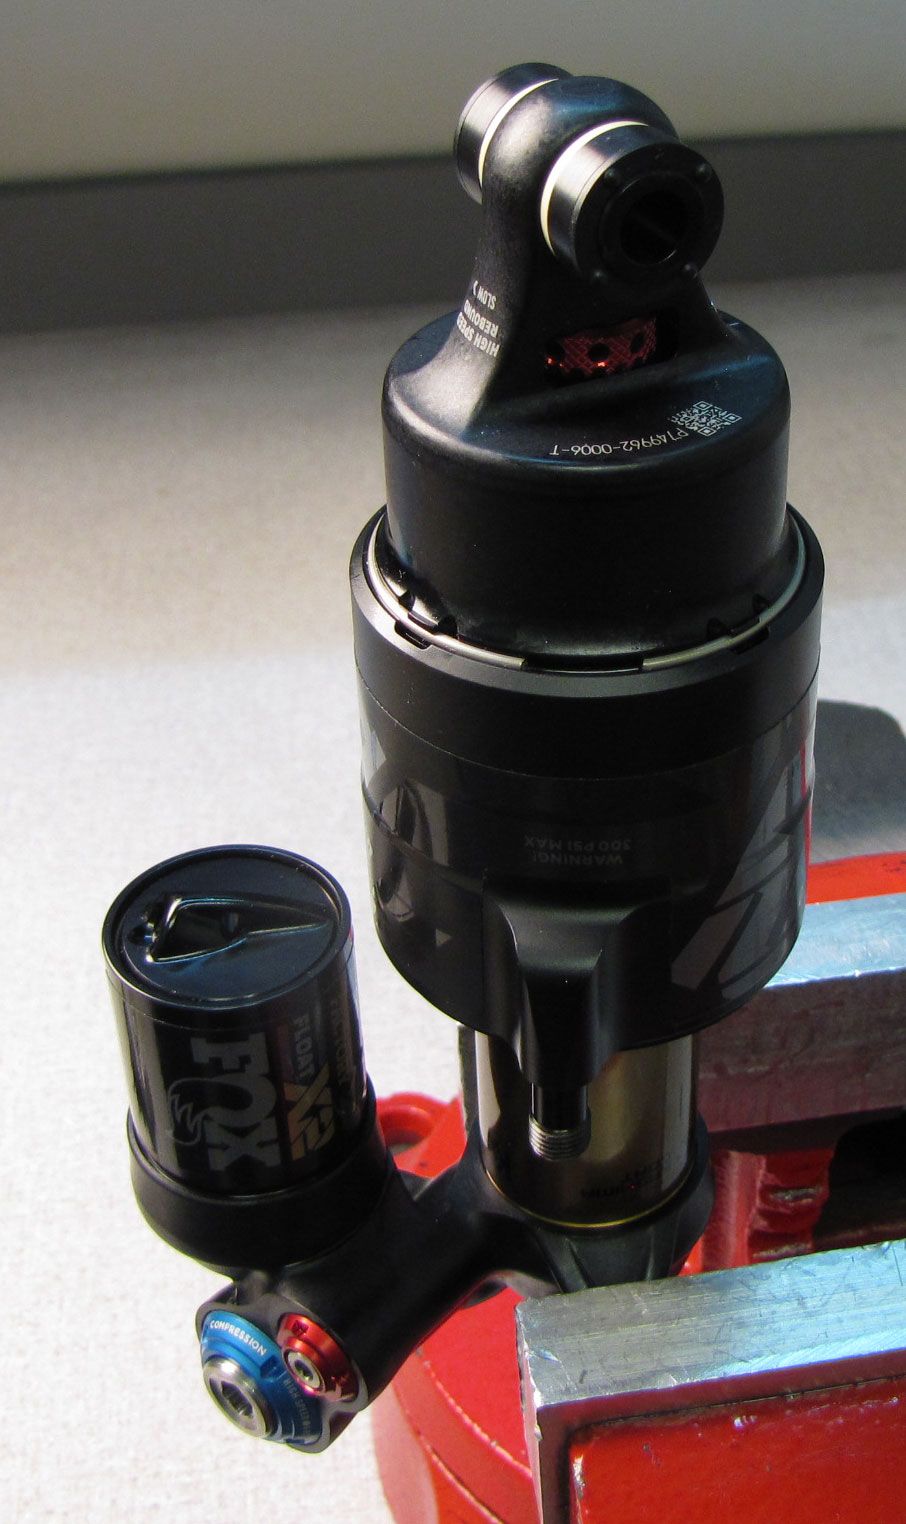

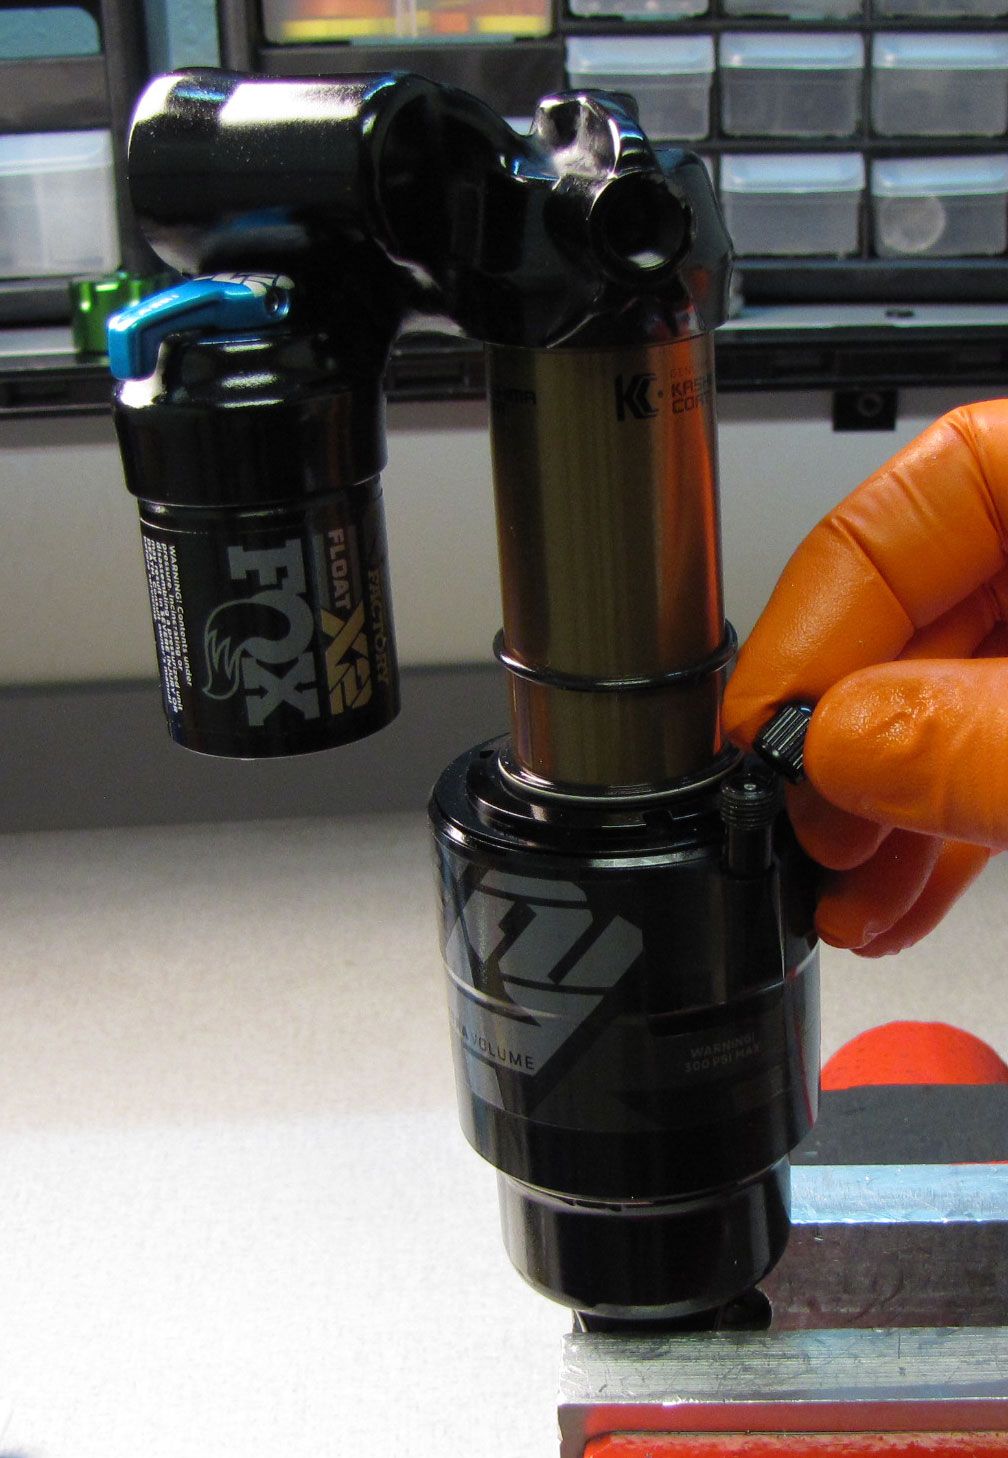
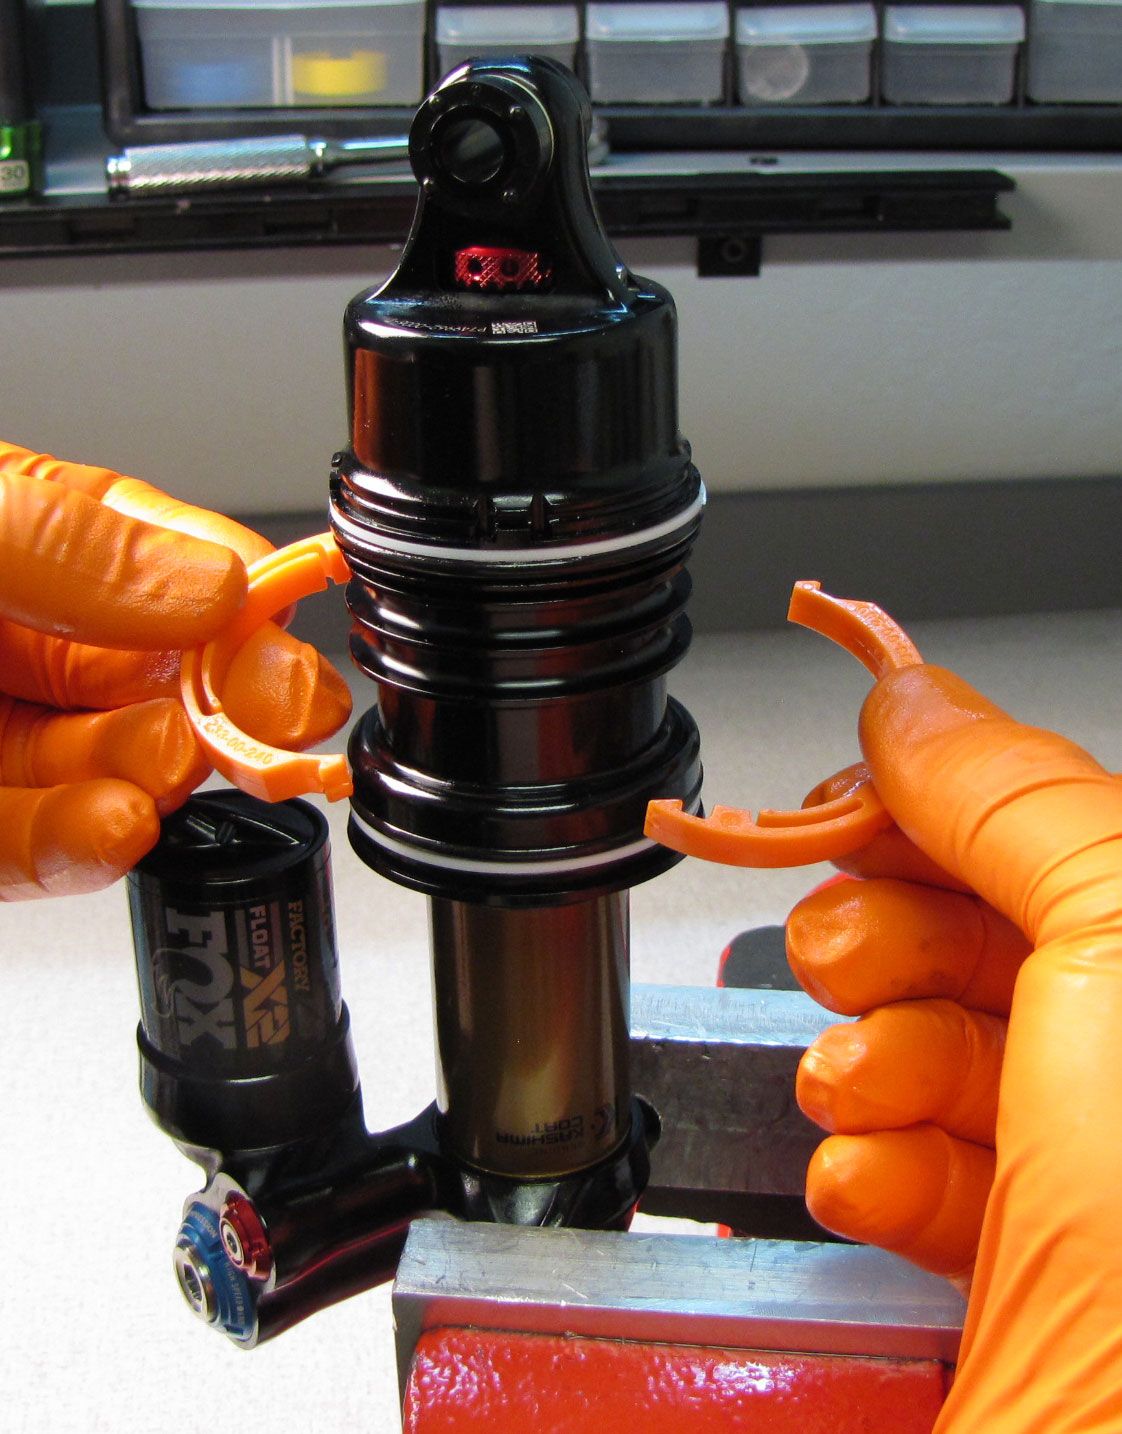
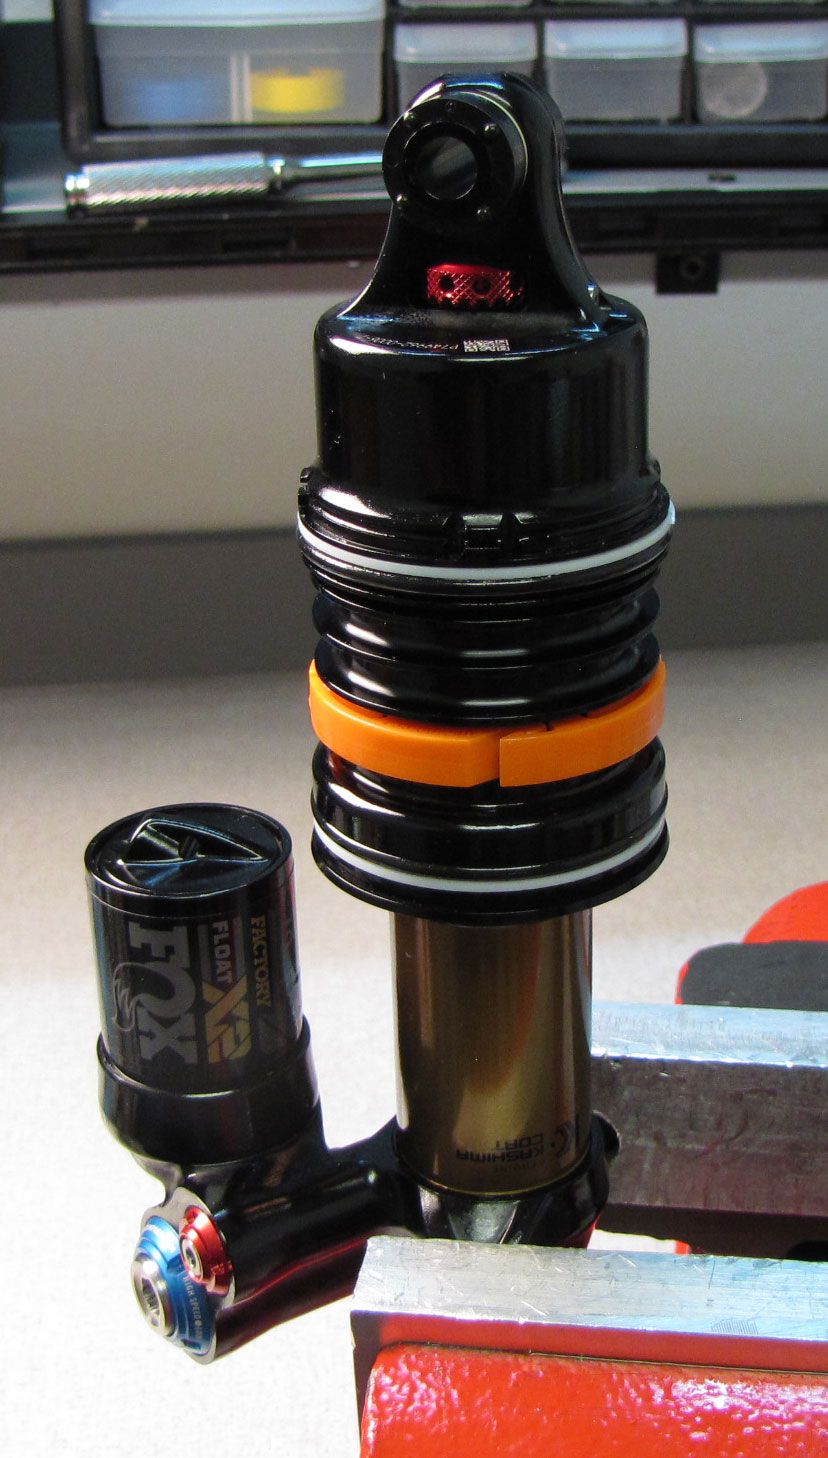
Step 3
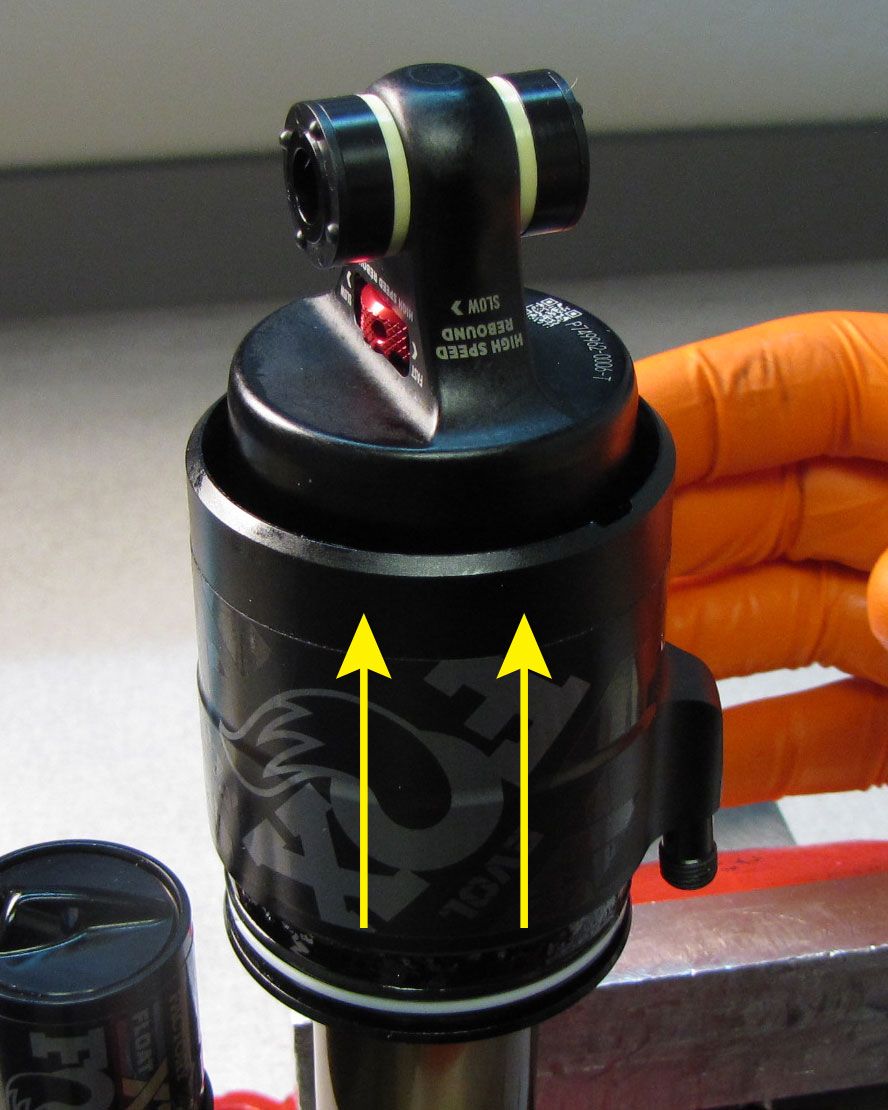
Slide the outer air sleeve away from the negative air sealhead to remove.
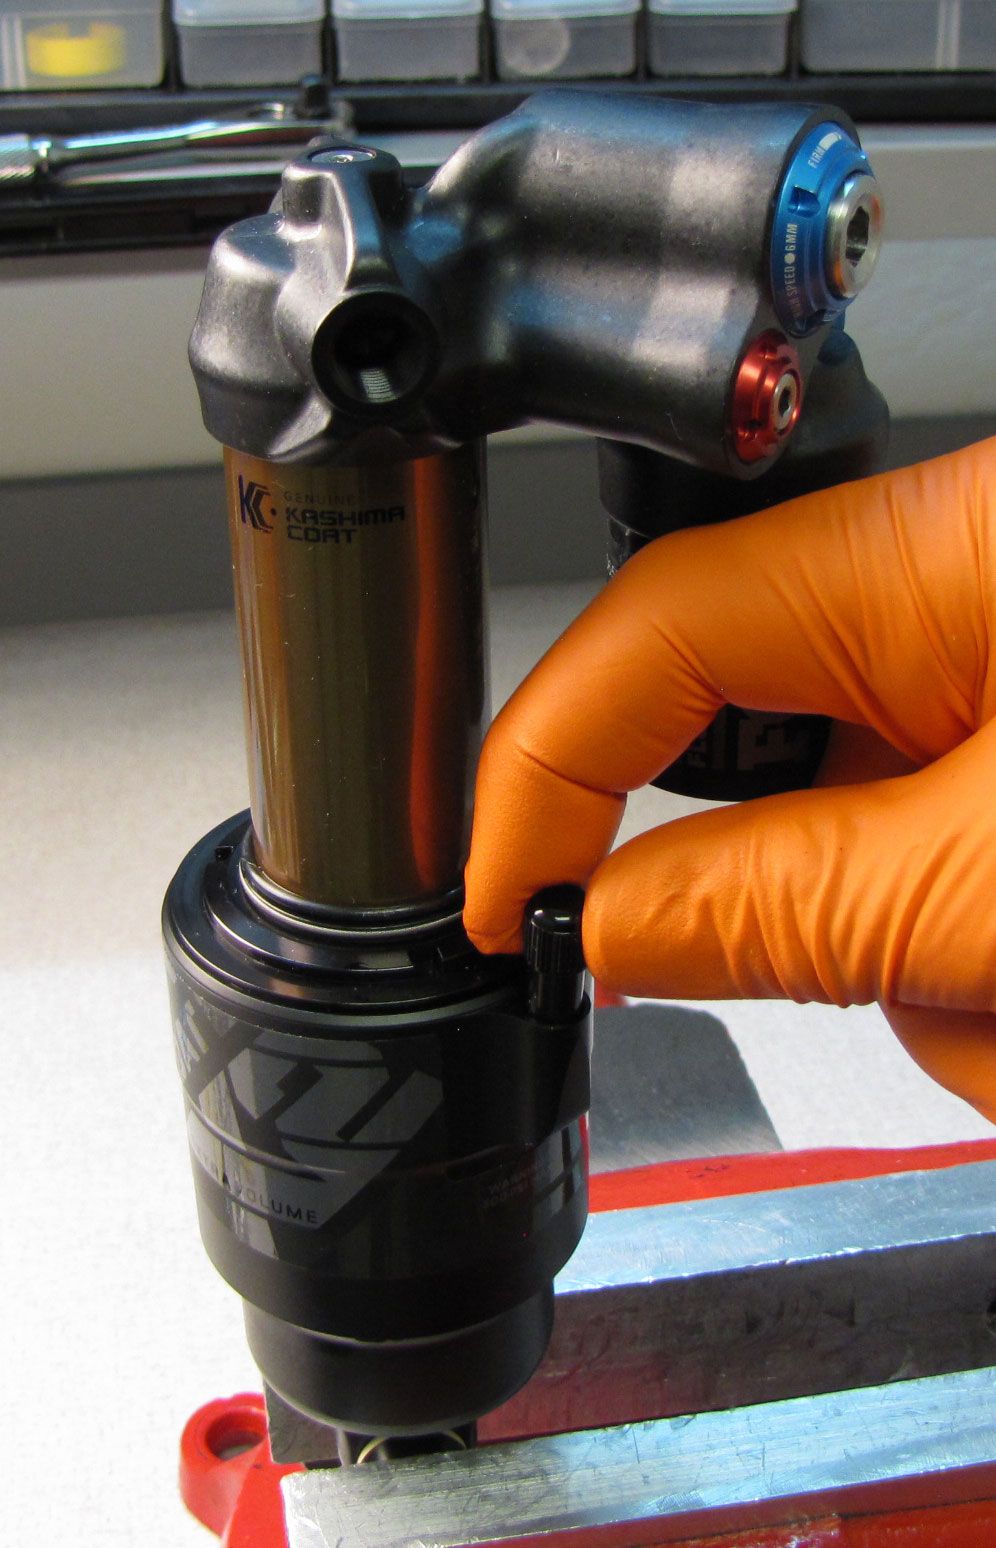
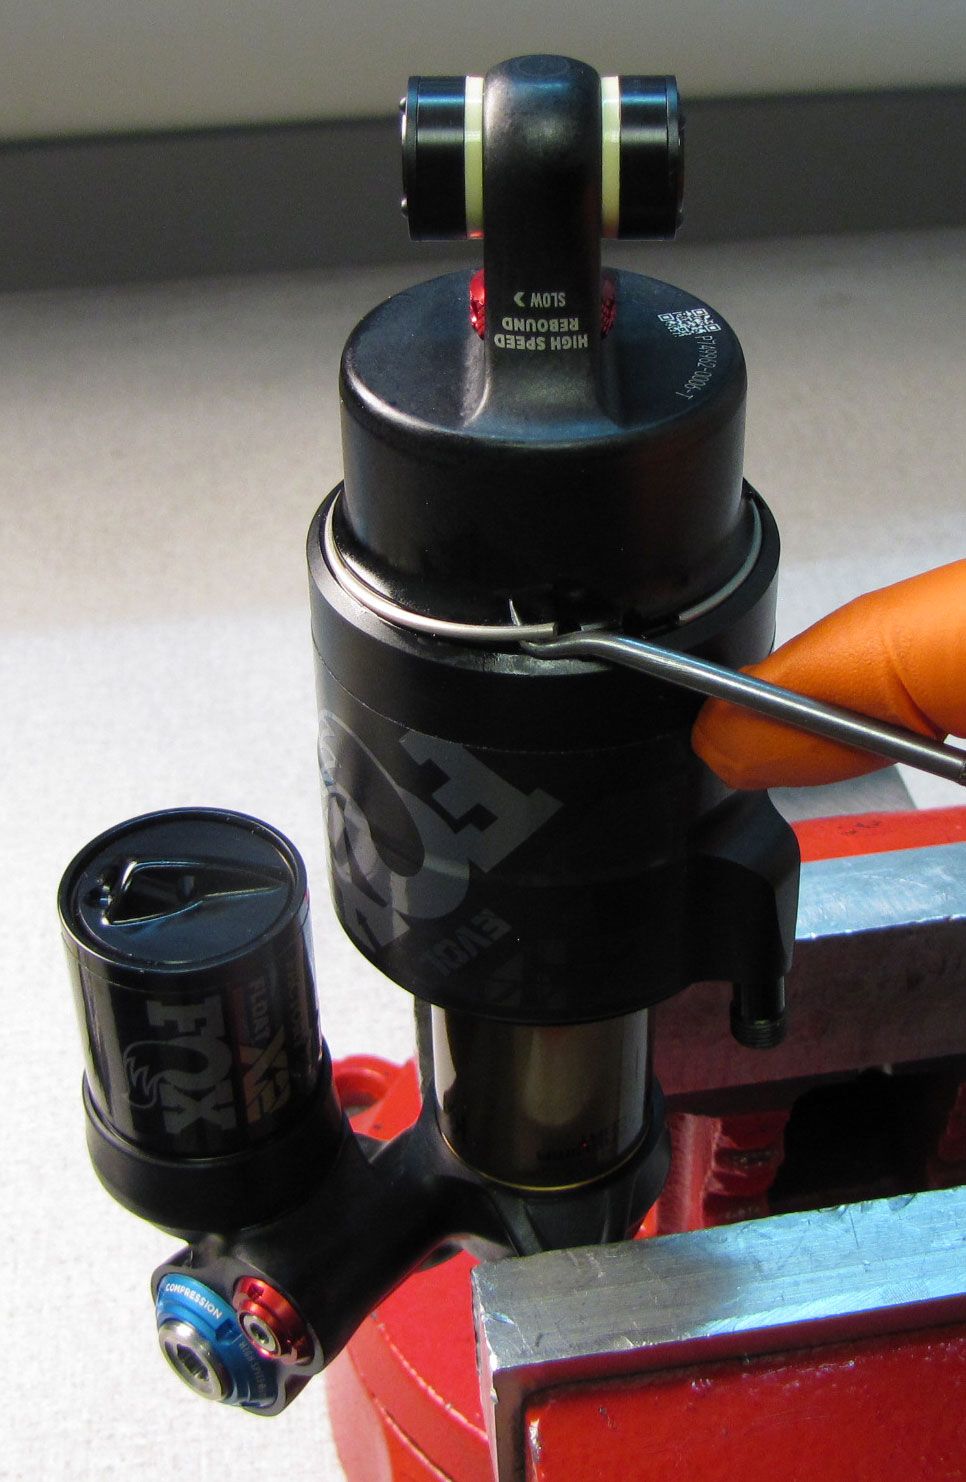
Step 4
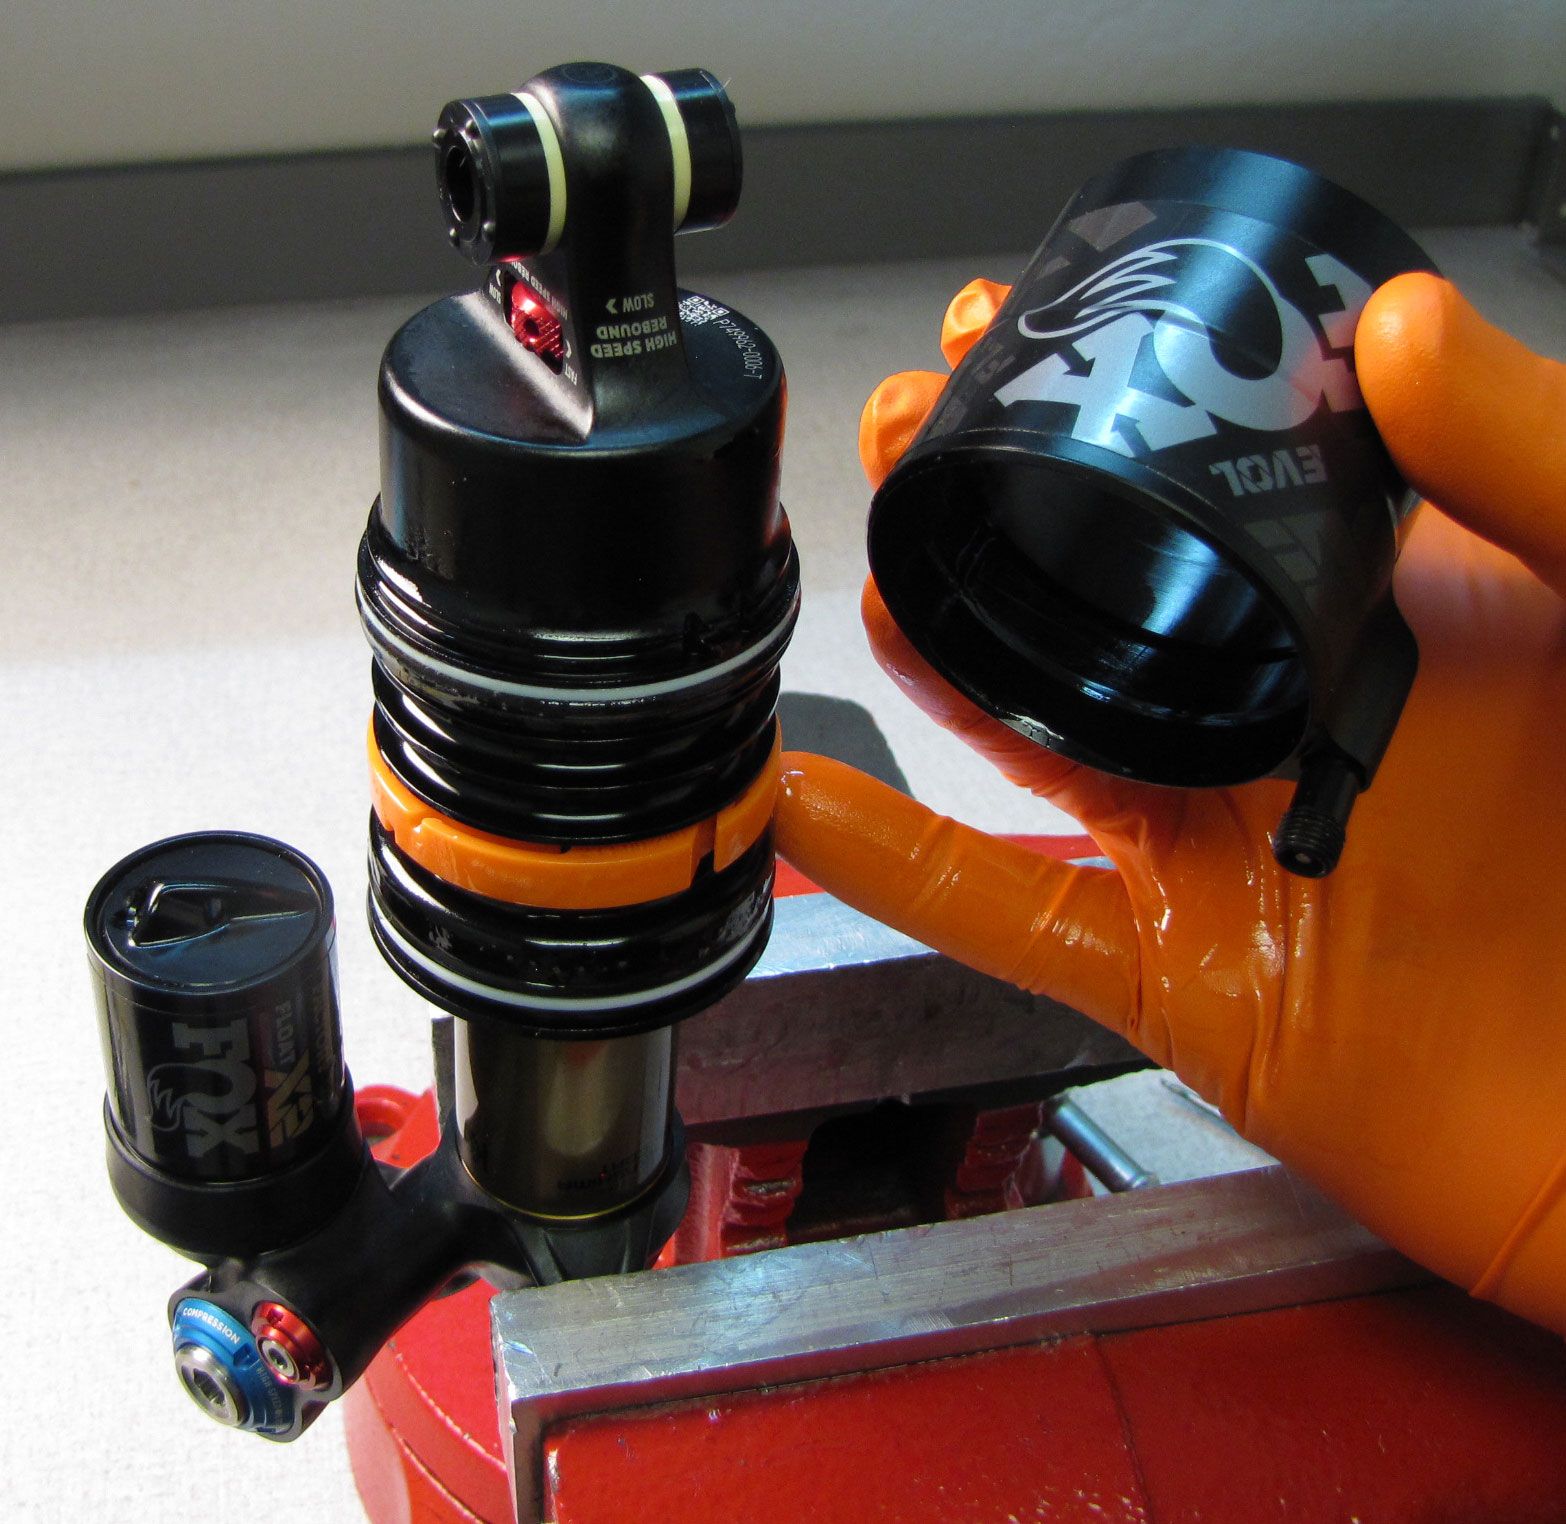
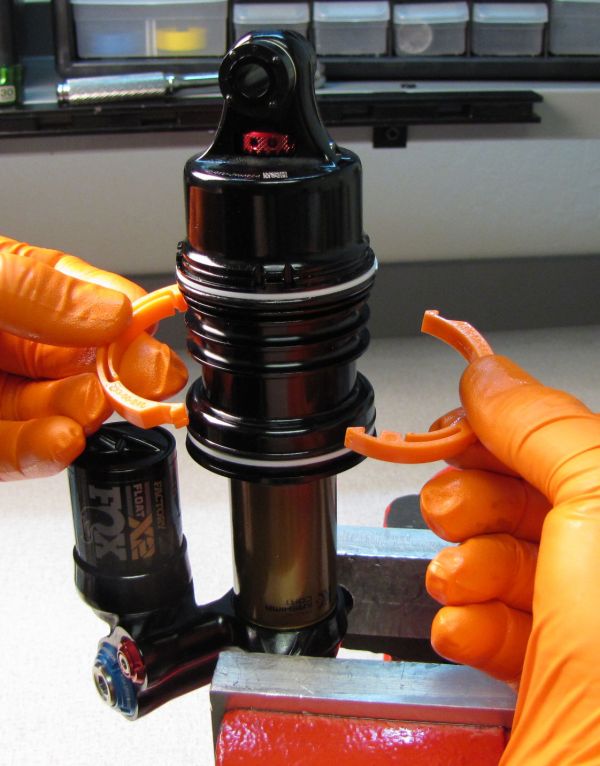
Remove or install Air Volume Spacers as needed, making sure not to exceed the maximum number of spacers for your shock's travel. Coat the air seals in a thin film of Slick Honey then reinstall the outer air sleeve with the air valve side first. Rotate the outer air sleeve until the tab on the eyelet aligns with the notch in the outer sleeve. Slide the outer air sleeve all the way to the negative air sealhead to engage the air seals. Reinstall the wire retaining ring making sure that it is fully seated in its groove.


Step 5
Attach your shock pump then add air while you slowly cycle your shock through 25% of its travel 10 times as you reach your desired pressure. Reinstall the black air cap.